07.05 3D Test Print Photo Documentation
Assignment Deliverables
- Take 2 Photos with a clean backdrop of your 3D Test Print.
- Upload both the “RAW” photo and the edited .jpg for all photos
- Label Photos YYYYMMDD Lastname Firstname 5 Word Description. (arw, cr2, dng, jpg, png)
Assignment Overview
Take a minimum of two photos of your 3D Test Print. Take one from a 3/4 angle that shows a good representation of the form. Take the other from a composition of your choice. This could show some detail of the print. Make sure the print is in focus. Using a camera from the checkout with a zoom feature will help. Use good lighting and shoot in JPG and RAW so you can edit and post process your images.
White balance should be corrected and the levels should be adjusted to have good exposure. Use PhotoShop and Adobe Camera Raw to make adjustments and to retouch any mistakes in the images.
Use Backdrop and Lights in the Classroom
You can set up lights and a clean backdrop. You can check out lights and a camera from the CIA equipment checkout. A backdrop is setup in the classroom for your use. Make sure to be careful with the shared resource. Do not leave marks on the paper or leave a mess.
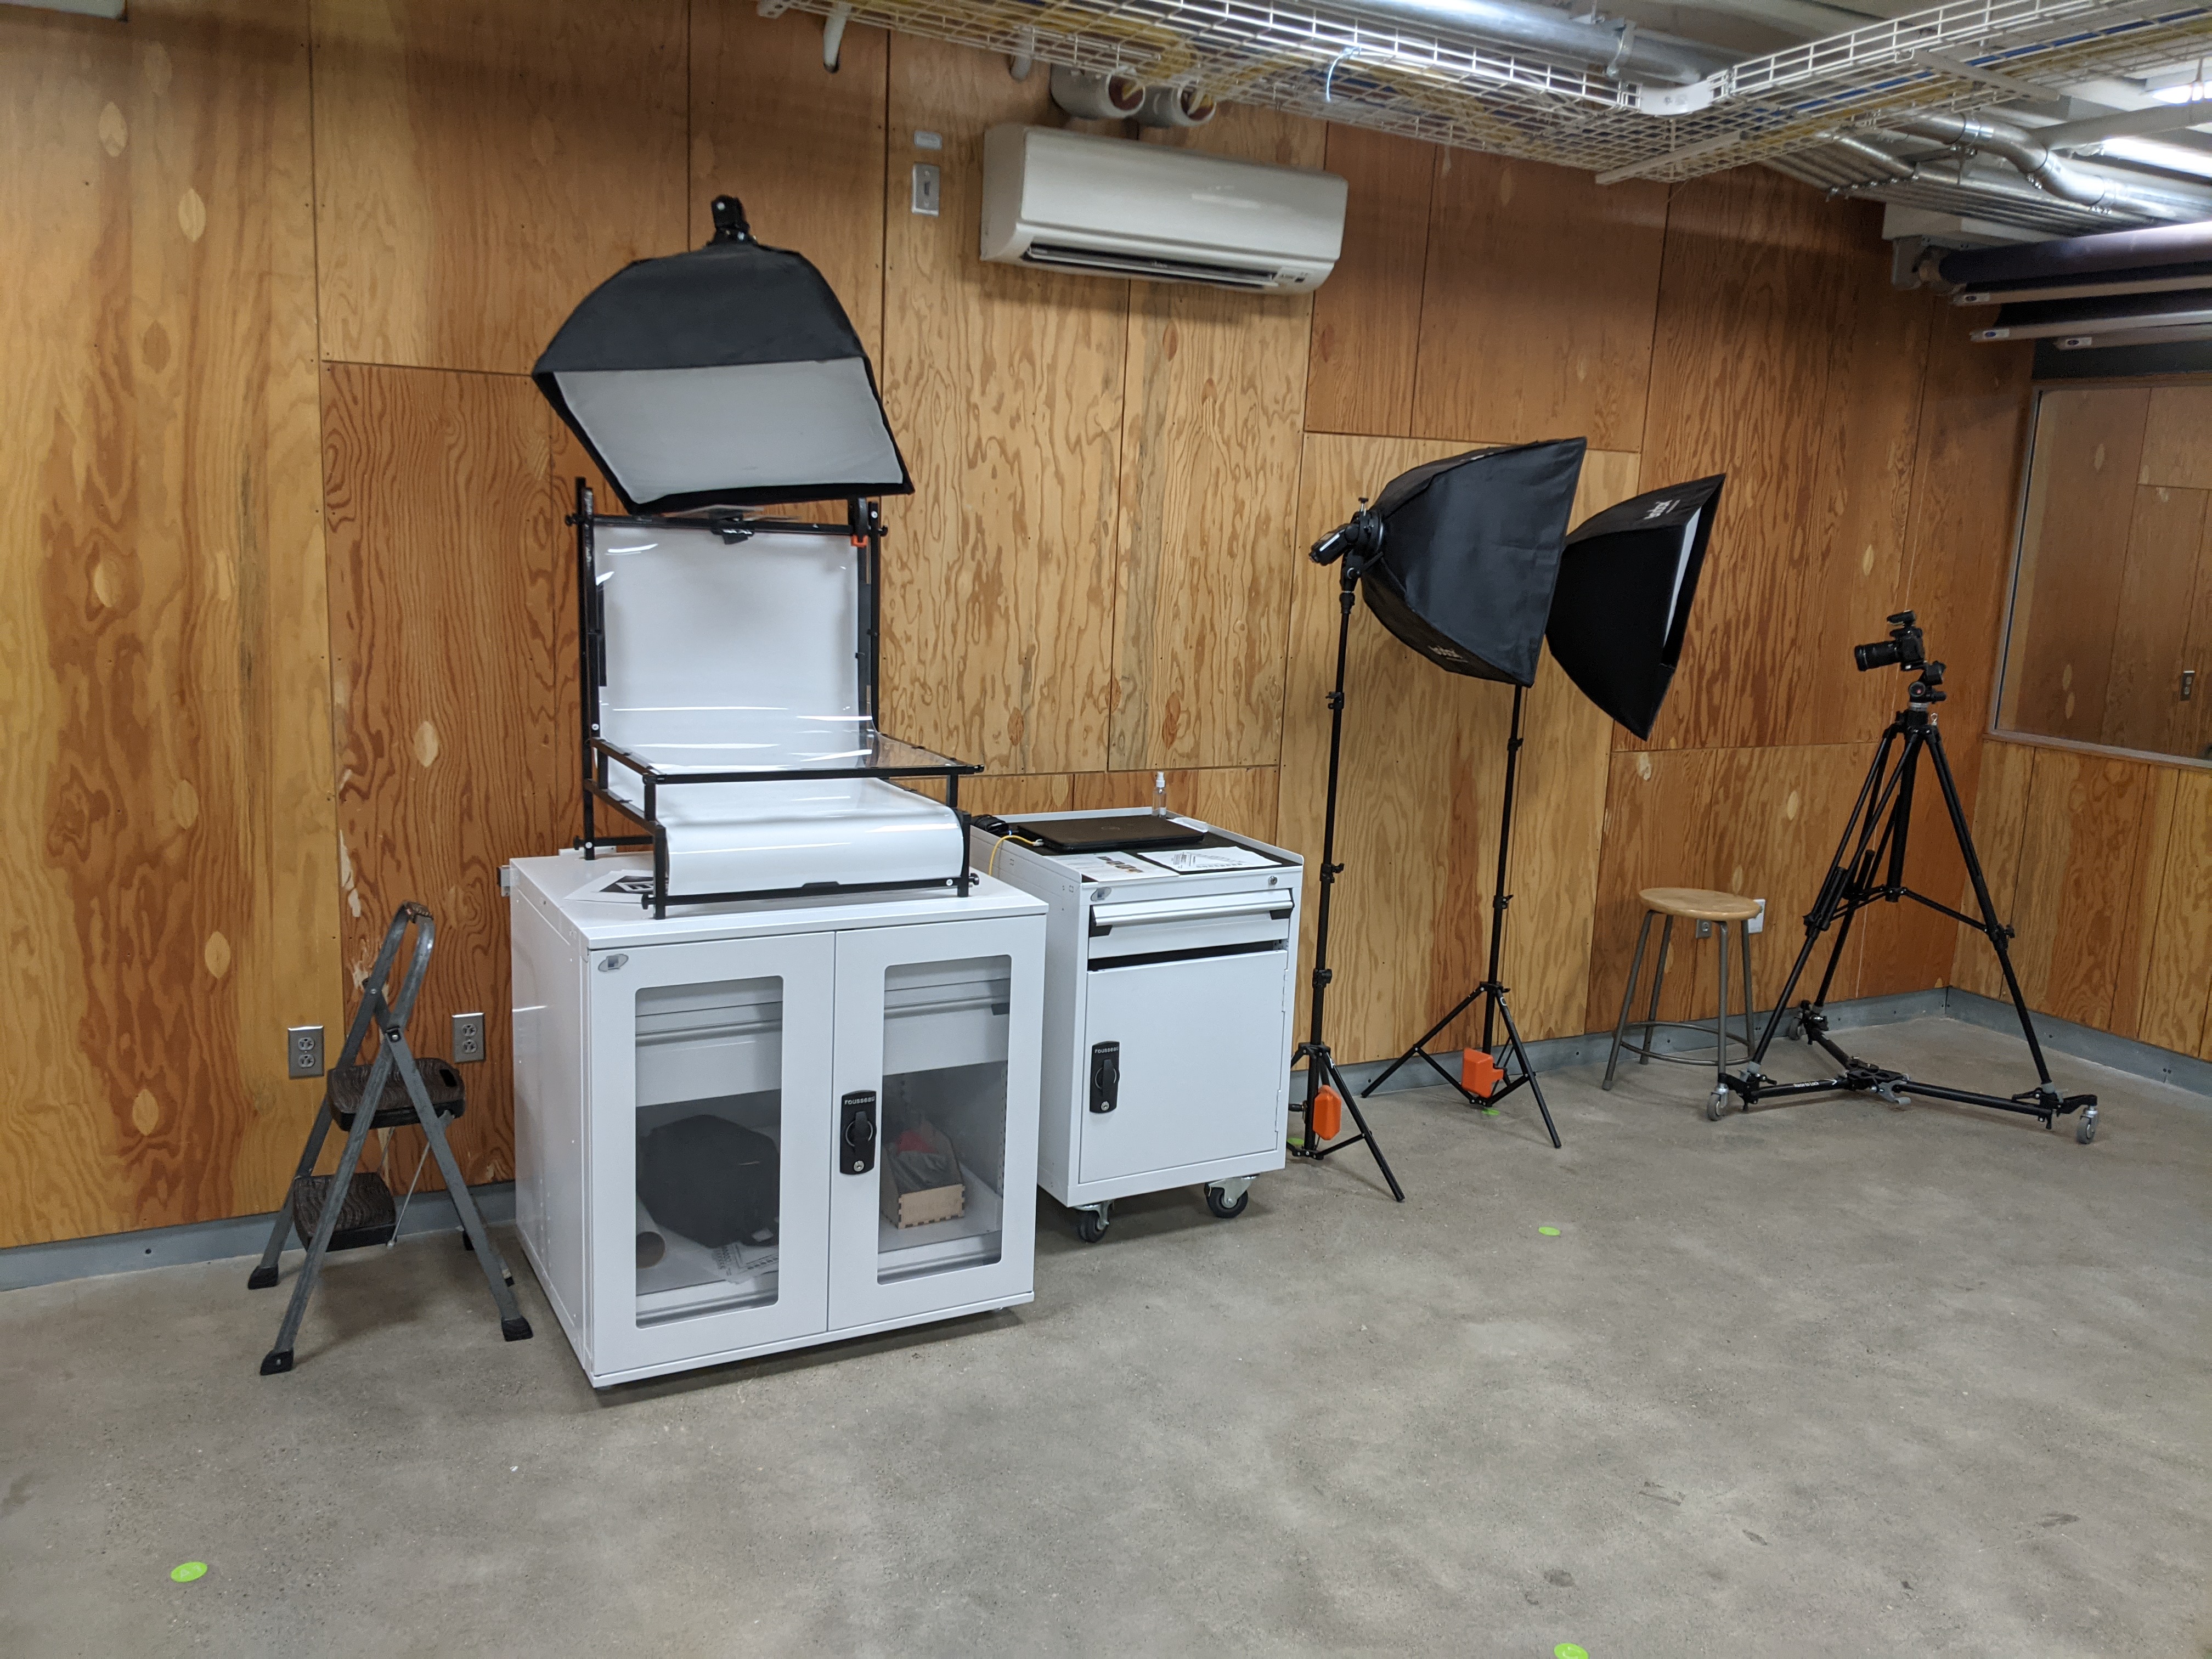
Use think[box] Photo Stand
There is a photo stand at the think[box]that is perfect for documenting small objects. You can also take your model to the think[box] and use the soft boxes and flashes already set up. Follow the instructions provided by the think[box]. Do not use your cell phone with this setup.
Grading Rubric
| Assessment | Weight |
|---|---|
| Photo 1 | 20 points |
| Photo 2 | 20 points |
| Post Processing / White Balance | 20 points |
| RAW Files Uploaded | 20 points |
| File Management | 10 points |