01.07 Draw a Floor Plan with Blender
On this page
After an image of a floor plan is imported into Blender and then adjusted for the correct scale, then 3D model geometry needs to be created. It is easiest to draw the outline of the floor plan while looking down from the top view. A simple floor plan can be drawn with straight edges.
3D Model from 2D Floor Plan Workflow in Blender
- Adjust your view port so you are looking down on the imported floor plan.
- Press Shift > A to create a new mesh edge.
- Press Tab to switch to edit mode.
- By default, edit mode should be set to editing points or vertices. If it is not, then click the “dot” icon at the top left or press 1.
- Select one of the points on the first edge. Press G, then press Shift+Z to constrain the motion to the ground plane.
- Move the point to a corner of a feature on the floor plan. Repeat fro the other point.
- With one of the points selected, press E to extrude another edge. Move this edge to the next feature corner on the floor plan.
- Repeat this process until you have gone all the way around the perimeter of the floor plan.
- This created polygon floor can be extruded up.
Link to basic 3D Model of Example Gallery
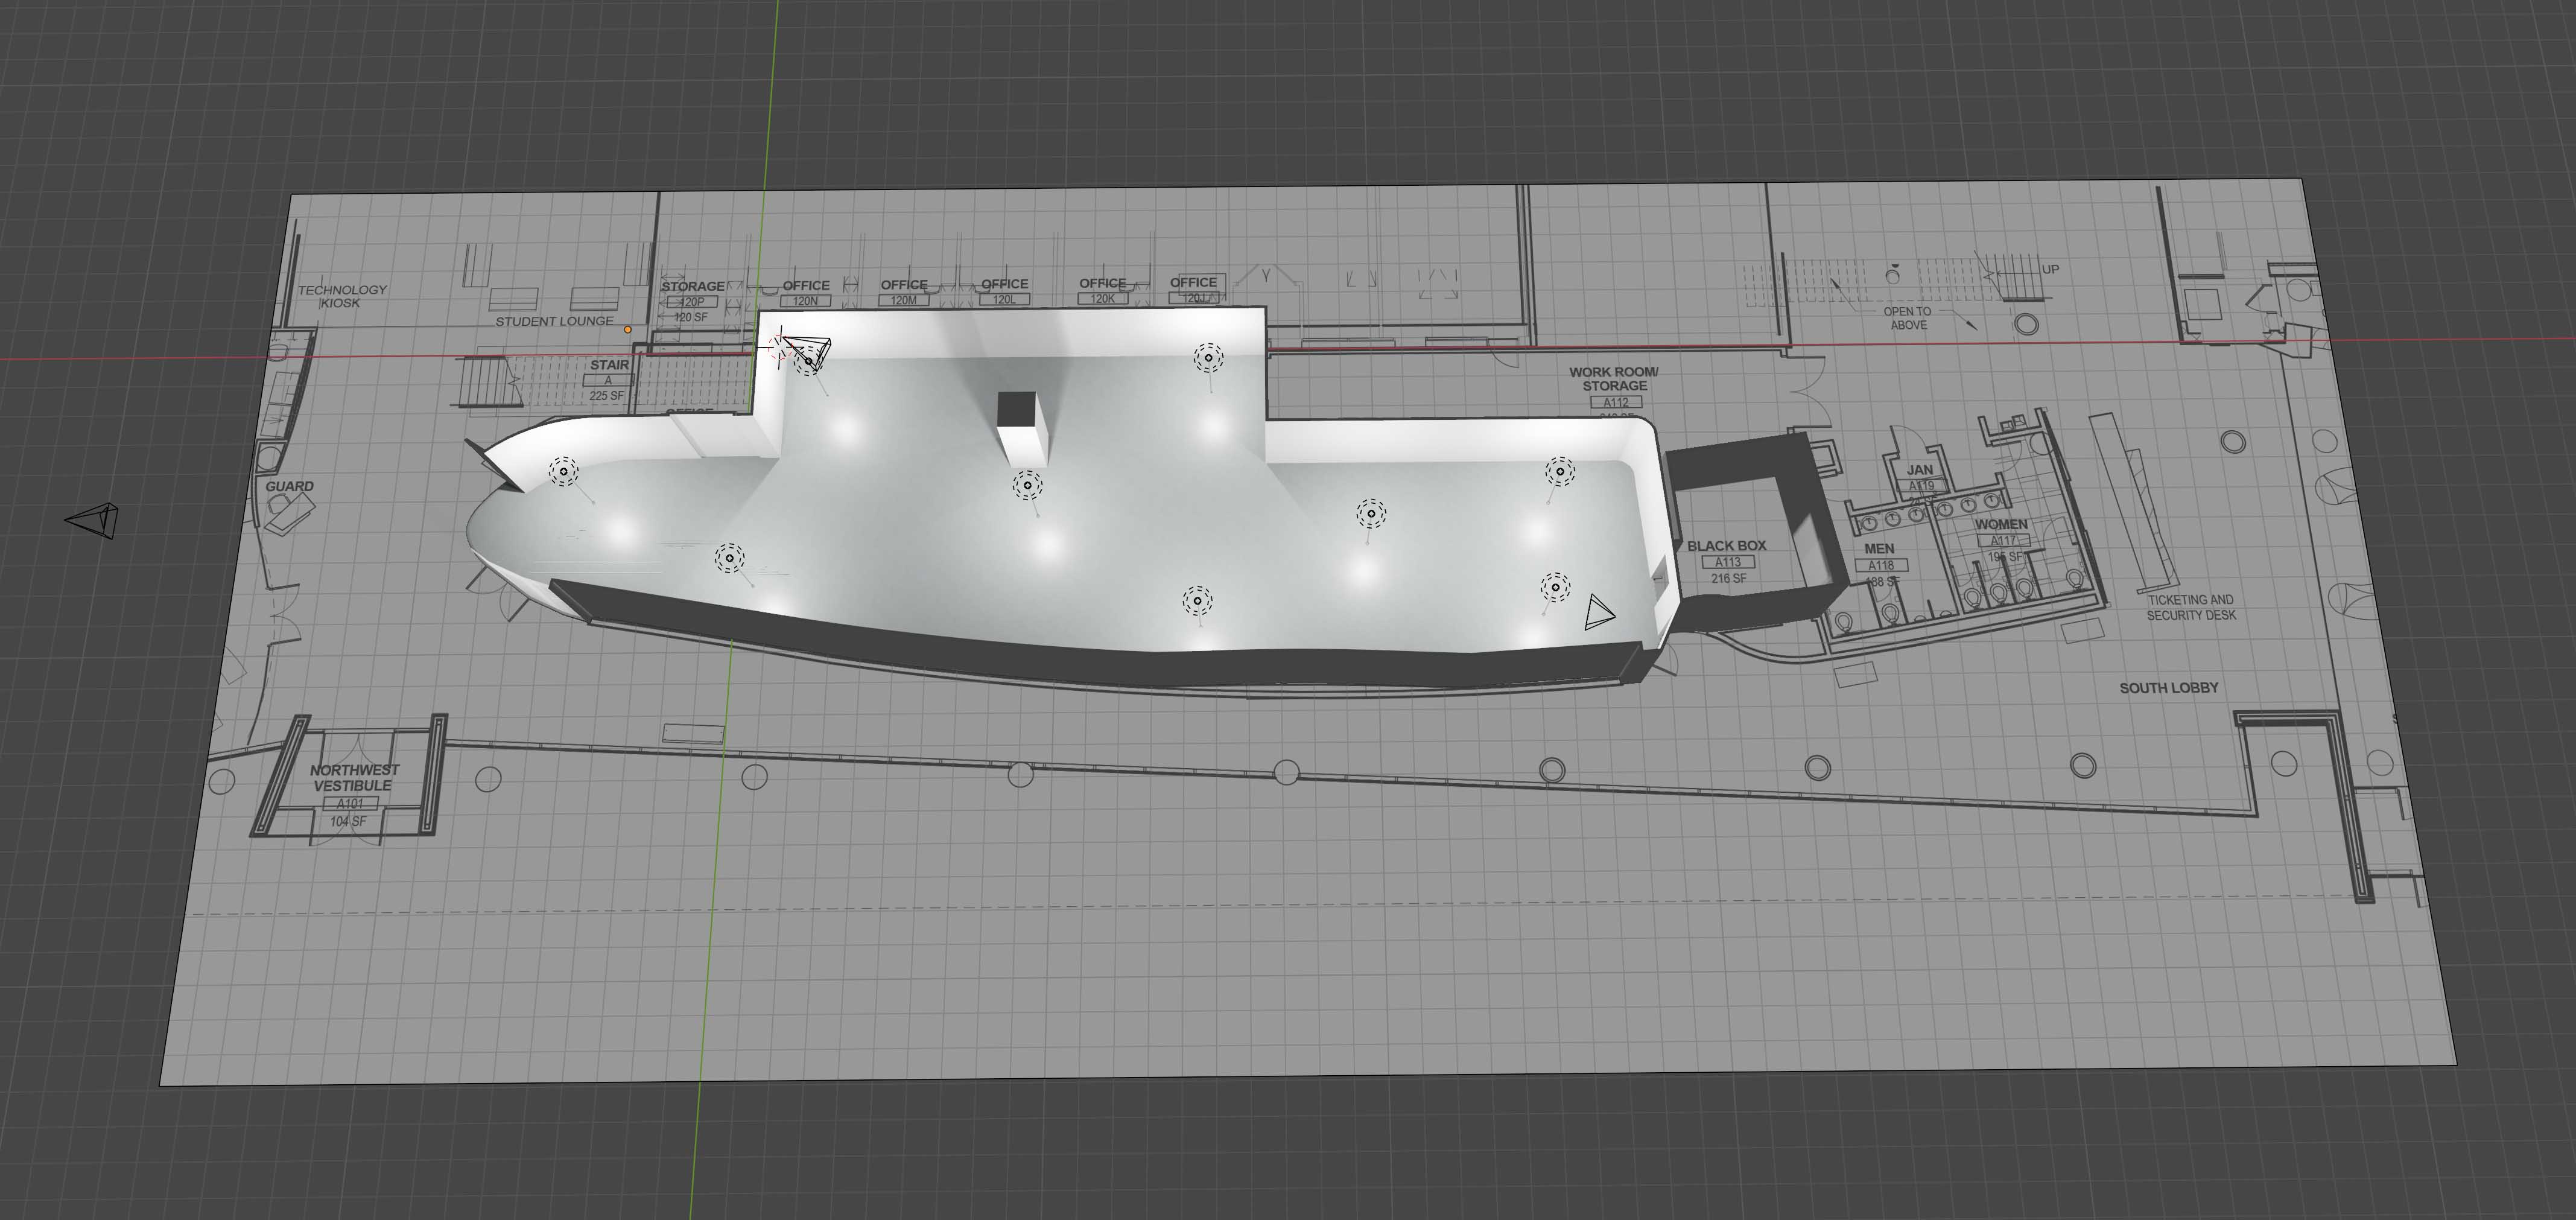
Example of a basic prebuilt model of the gallery ready for ideation and visualization. Link to Blender file