On this page
Guide to 3D Modeling and Animation with Adobe Mixamo
Introduction to Mixamo
- Learn about Adobe’s Mixamo and its capabilities in 3D character modeling and animation.
Uploading Your Character Mesh
- Step 1: Select ‘Upload Character’ in Mixamo.
- Step 2: Choose your character file (FBX or OBJ) for upload.
- Step 3: Rotate your character as needed to ensure it faces forward.
Auto-Rigging Process
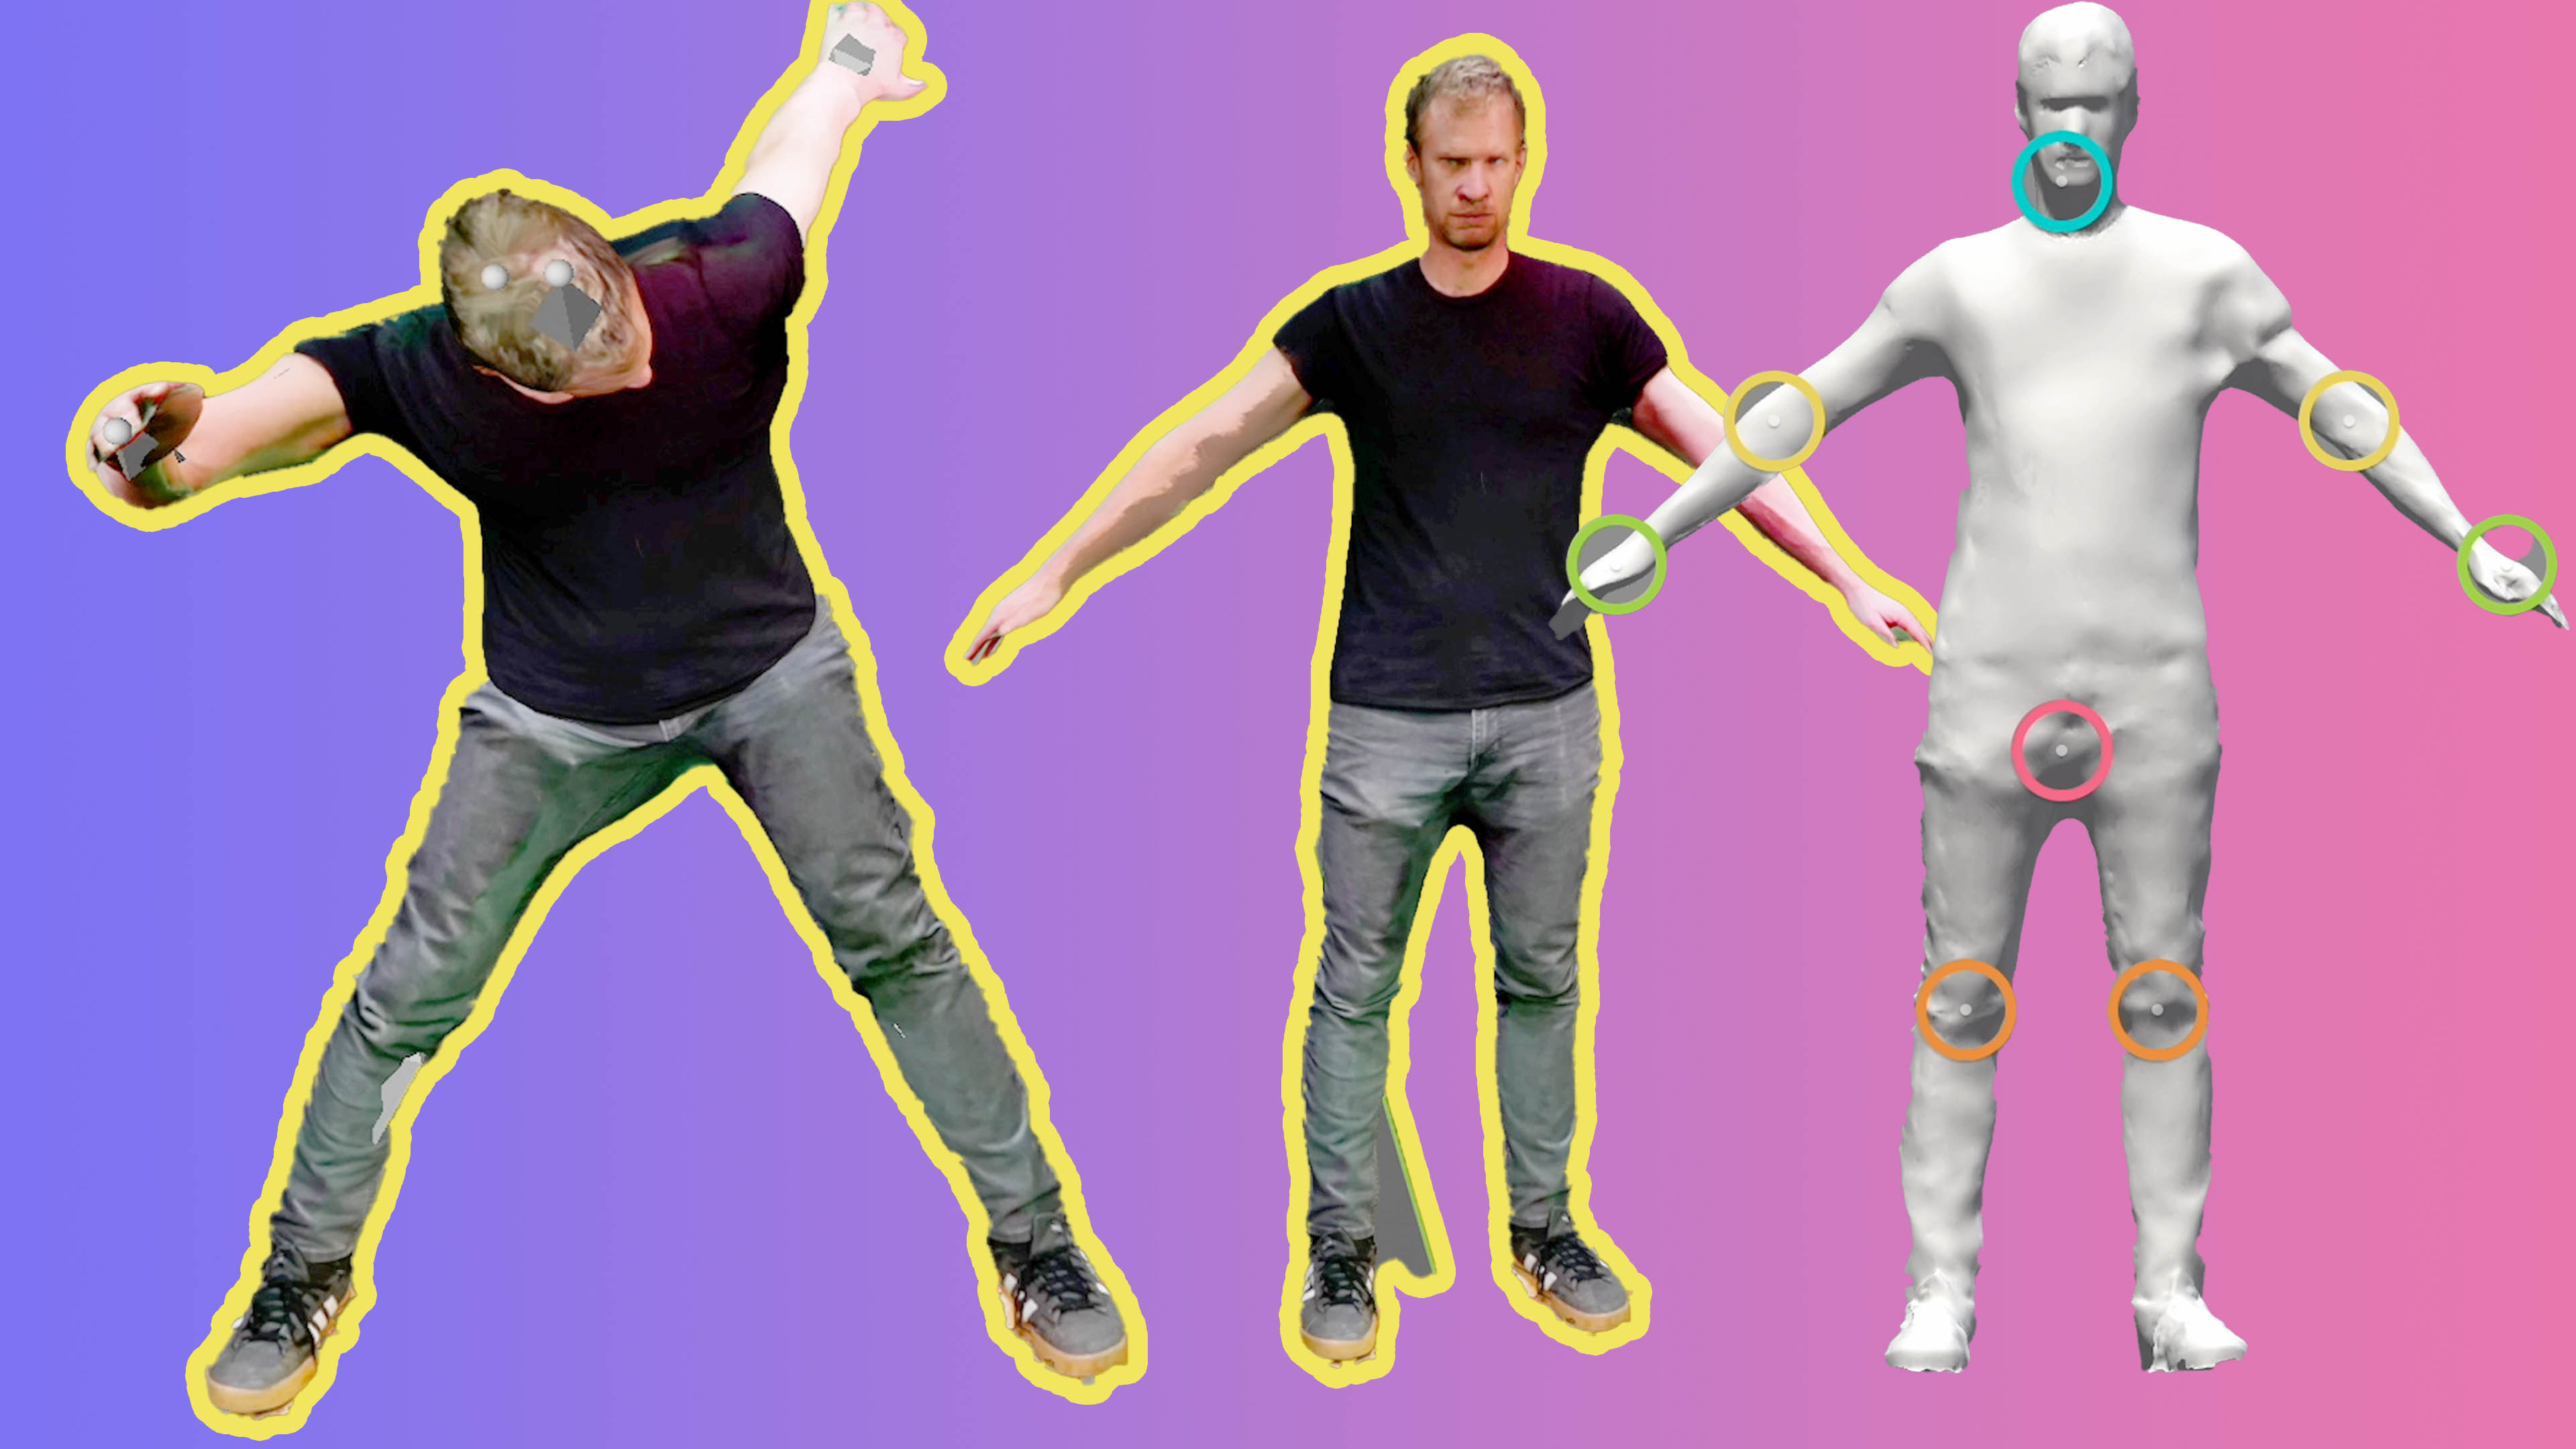
- Step 4: Place rig markers accurately, starting with the chin and then the wrists.
- Step 5: Adjust the position of wrists, elbows, and chin markers for asymmetrical models.
- Step 6: Choose the type of skeleton for your character (e.g., with or without detailed fingers).
Animating Your Character
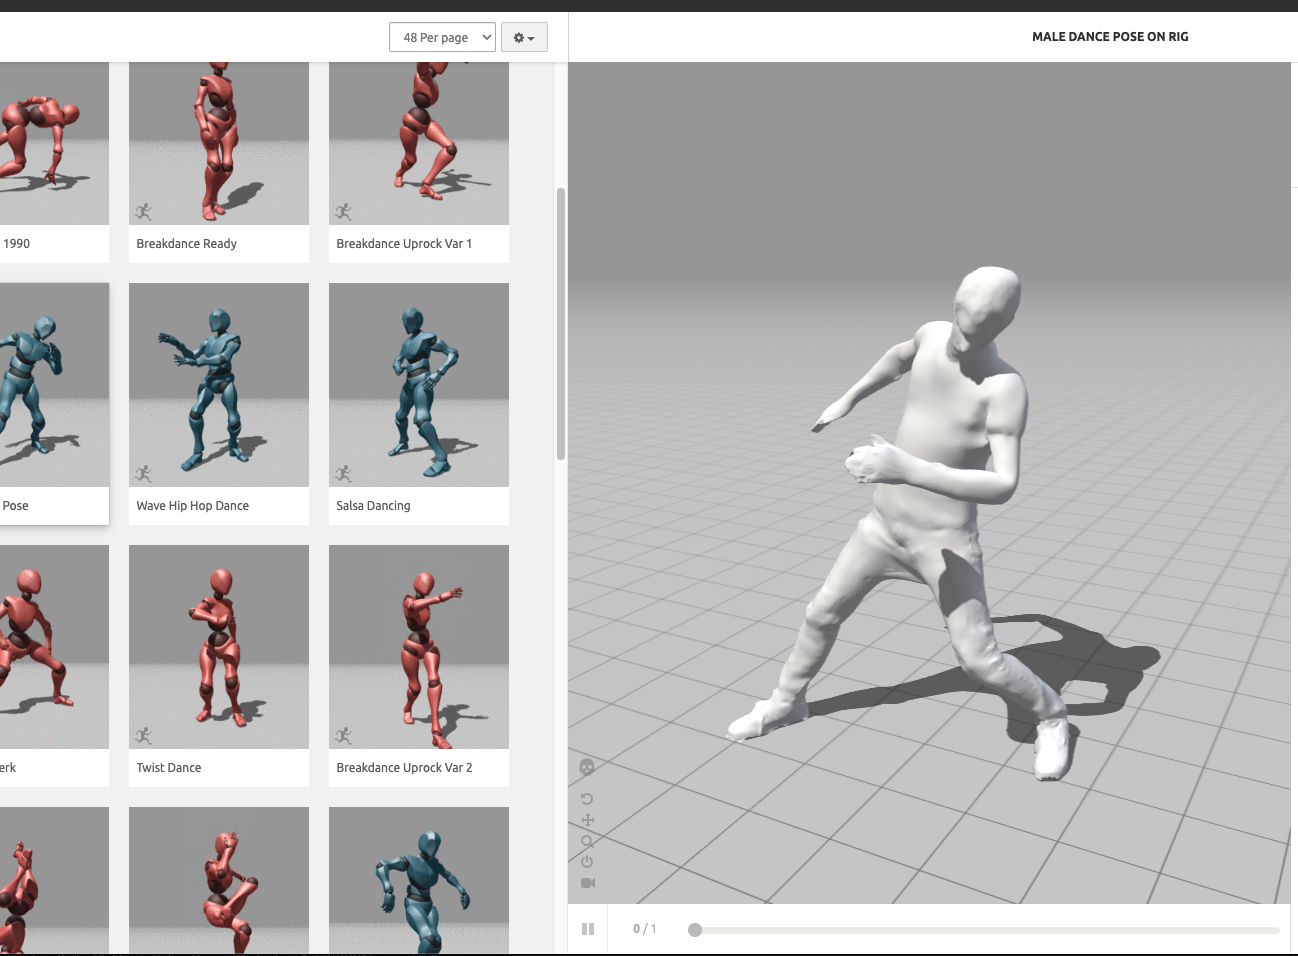
- Step 7: Select from a variety of pre-animated scenes or apply your motion capture.
- Step 8: Customize animations by adjusting height, duration, or mirroring them.
Downloading and Using Animations in 3D Software
- Step 9: Download the animation with or without skin and keyframe reduction.
- Step 10: Import the downloaded FBX file into 3D software like Blender or Maya.
- Step 11: Blend and interact different animations in your 3D project.
Final Steps
- Step 12: Explore advanced features and tools within Mixamo and your 3D software.
- Step 13: Share your creations and experiences in the comments for community engagement.
Additional Resources
(Last Modified:
)